 AI Photos of You
AI photo guide
How to make an AI photo of me
To make an AI photo of yourself, use a photo generator that accepts reference images, upload clear photos of you, and describe the portrait you want. Then compare the generated face with your real photos. Here is how to go from a selfie to a portrait you can judge and use.
Create your photo in StudioFrom $19 USD. Pay once, no subscription.
Your reference photos stay private. How your photos are handled
1. Decide what the photo needs to do
Start with the place you plan to use the image. A work profile might need a clear shoulder-up portrait with space around the head. A casual profile might suit a relaxed outfit and an outdoor setting. Choosing one purpose makes it easier to describe the photo and decide whether the result works.
An AI photo generator creates a new image. The clothes, background, and details in that image may never have existed together. For a portrait, judge both whether you like the picture and whether it represents you accurately enough for its intended use.
2. Choose reference photos that show your face clearly
A text description alone does not show a generator what you look like. Use current reference photos with a sharp, visible face, natural skin texture, and the hairstyle or glasses you want people to recognize.
A straightforward selfie is a useful starting point. Face a window, hold the camera around eye level, and check for blur or glare. Leave out group shots and photos with face-altering filters. If you upload several references, keep your appearance consistent across them.
In AI Photos of You, sign in to Studio, upload your own reference photos, and confirm consent. Your account uses one shared reference set across devices. References are private and are not automatically published as examples.
3. Describe the scene without reinventing your face
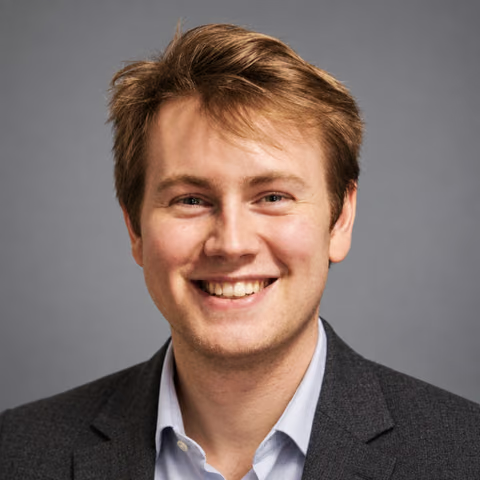
Choose a look in Studio and give concrete directions for the outfit, setting, framing, and expression. ‘Make me look amazing’ leaves almost every choice open. ‘Shoulder-up portrait, navy shirt, gray background, relaxed smile’ gives you a result you can compare with a specific intention.
Try one of these prompts as a starting point, adjusting the clothing and setting to fit you. Directions about preserving features are requests, not guarantees.
- Work portrait: ‘Create a shoulder-up headshot of me wearing a navy crewneck against a light gray background. Soft daylight, relaxed expression. Keep my current hairstyle, facial features, and natural skin texture.’
- Casual portrait: ‘Create a waist-up photo of me in a plain T-shirt at an outdoor café. Soft afternoon light, simple background, natural smile. Keep my everyday appearance and glasses.’
- Creative portrait: ‘Create a black-and-white portrait of me against a plain studio backdrop. Gentle side lighting, thoughtful expression, visible skin texture. Keep my face recognizable.’
4. Check the cost, then generate
AI Photos of You uses paid credits for generation and editing. Review the displayed cost and your balance before starting. Begin with a focused idea so you can learn from the result before committing to more variations.
Wait for the shoot to finish and inspect the available results. A completed generation means an image was produced; it does not mean the face has been verified as a good likeness. You make that judgment.
5. Compare the result with your real photo
Look at the reference and result side by side. Check the shape of your face, eyes, nose, mouth, hairline, and any glasses. Then inspect teeth, hands if visible, clothing edges, and background details. A flattering image can still contain an unfamiliar face or a distracting error.
If the face looks right but you want another background, open the photo in Studio and describe the edit. Review the entire edited result because details beyond the requested change can shift. If the face is wrong, reconsider the reference photos and simplify your directions before spending more credits.
6. Download and check the final crop
Download the photo you approve from My photos. Preview it in the actual shape and size where you will use it: a circular avatar can crop a portrait very differently from a full rectangular image.
Keep a real photo if none of the generated results feels like you. The goal is a useful portrait you recognize, and you do not have to accept a result just because it looks polished.
Your next photo starts here
Choose a look. Make it yours.
Upload your selfies, choose a style, and describe your photo. Review the credit cost in Studio before you start.
Create your photo in StudioResults vary. Keep the photos you feel represent you.
A few things to know
Your questions, answered.
Can I create an AI photo of me from a selfie?
Yes. A clear, current selfie can serve as a reference in a generator that accepts reference images. Visibility of your face matters more than a professional setting. Results still need your review for likeness.
What should I type to generate an AI photo of me?
Upload your reference first, then describe the framing, clothes, background, lighting, and expression. For example: ‘Shoulder-up portrait of me in a navy shirt, plain gray background, soft daylight, relaxed smile. Keep my current features and hairstyle.’
Can I make an AI photo of me without uploading a photo?
Text can describe a person, but it does not establish your exact appearance. AI Photos of You uses uploaded reference photos to guide personal portraits.
Is creating a photo in AI Photos of You free?
No. Generation and editing use paid credits. Check the package prices and the displayed credit cost in Studio before starting.